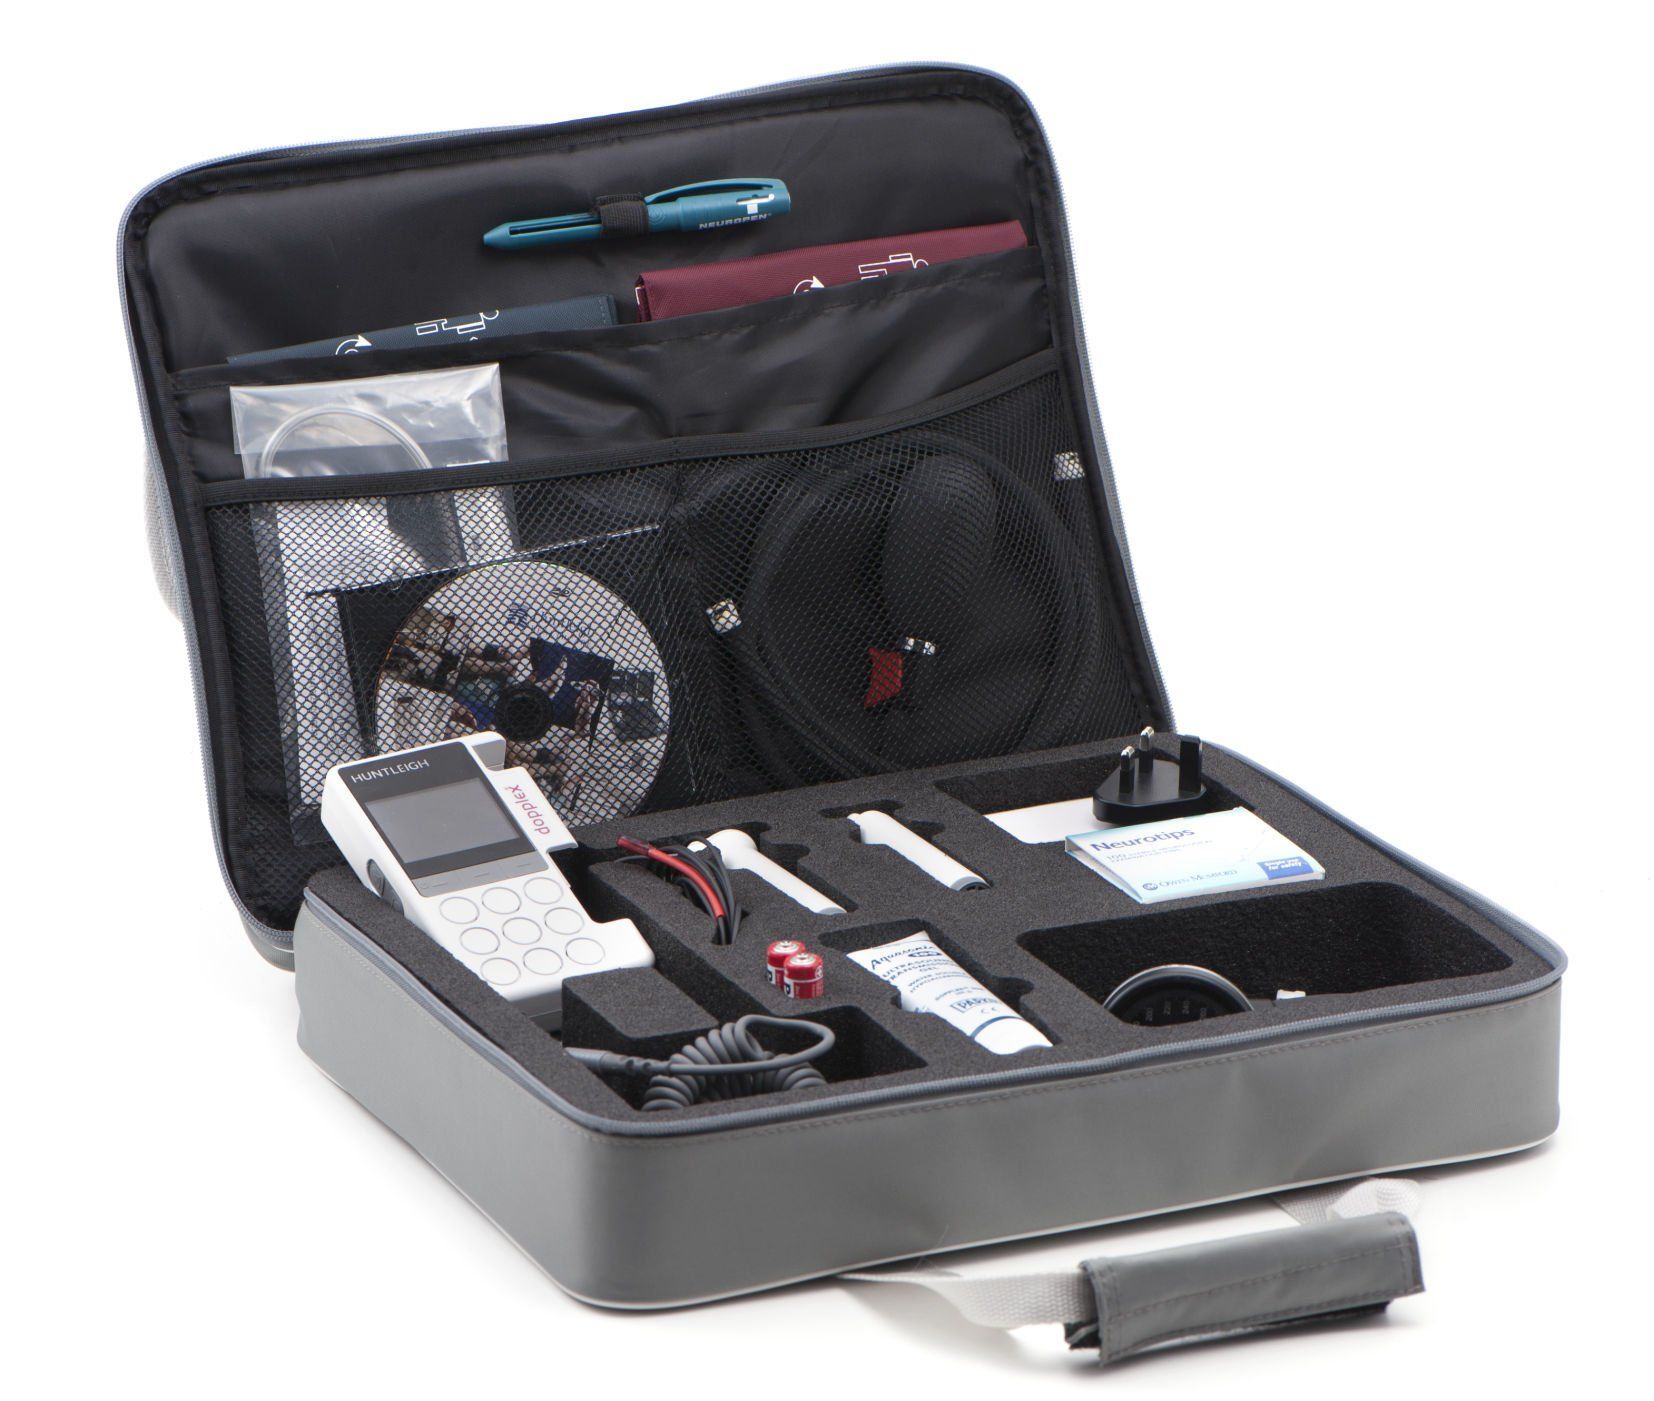
Ankle and Toe Pressure (ATP) Kit Guide
Assemble the Tubing
- When you first get your ATP Kit if you want to use the toe pressure component you will need to assemble that piece.
- Please insert the batteries in the Doppler. They may need charging for the first use (if using rechargeable batteries).
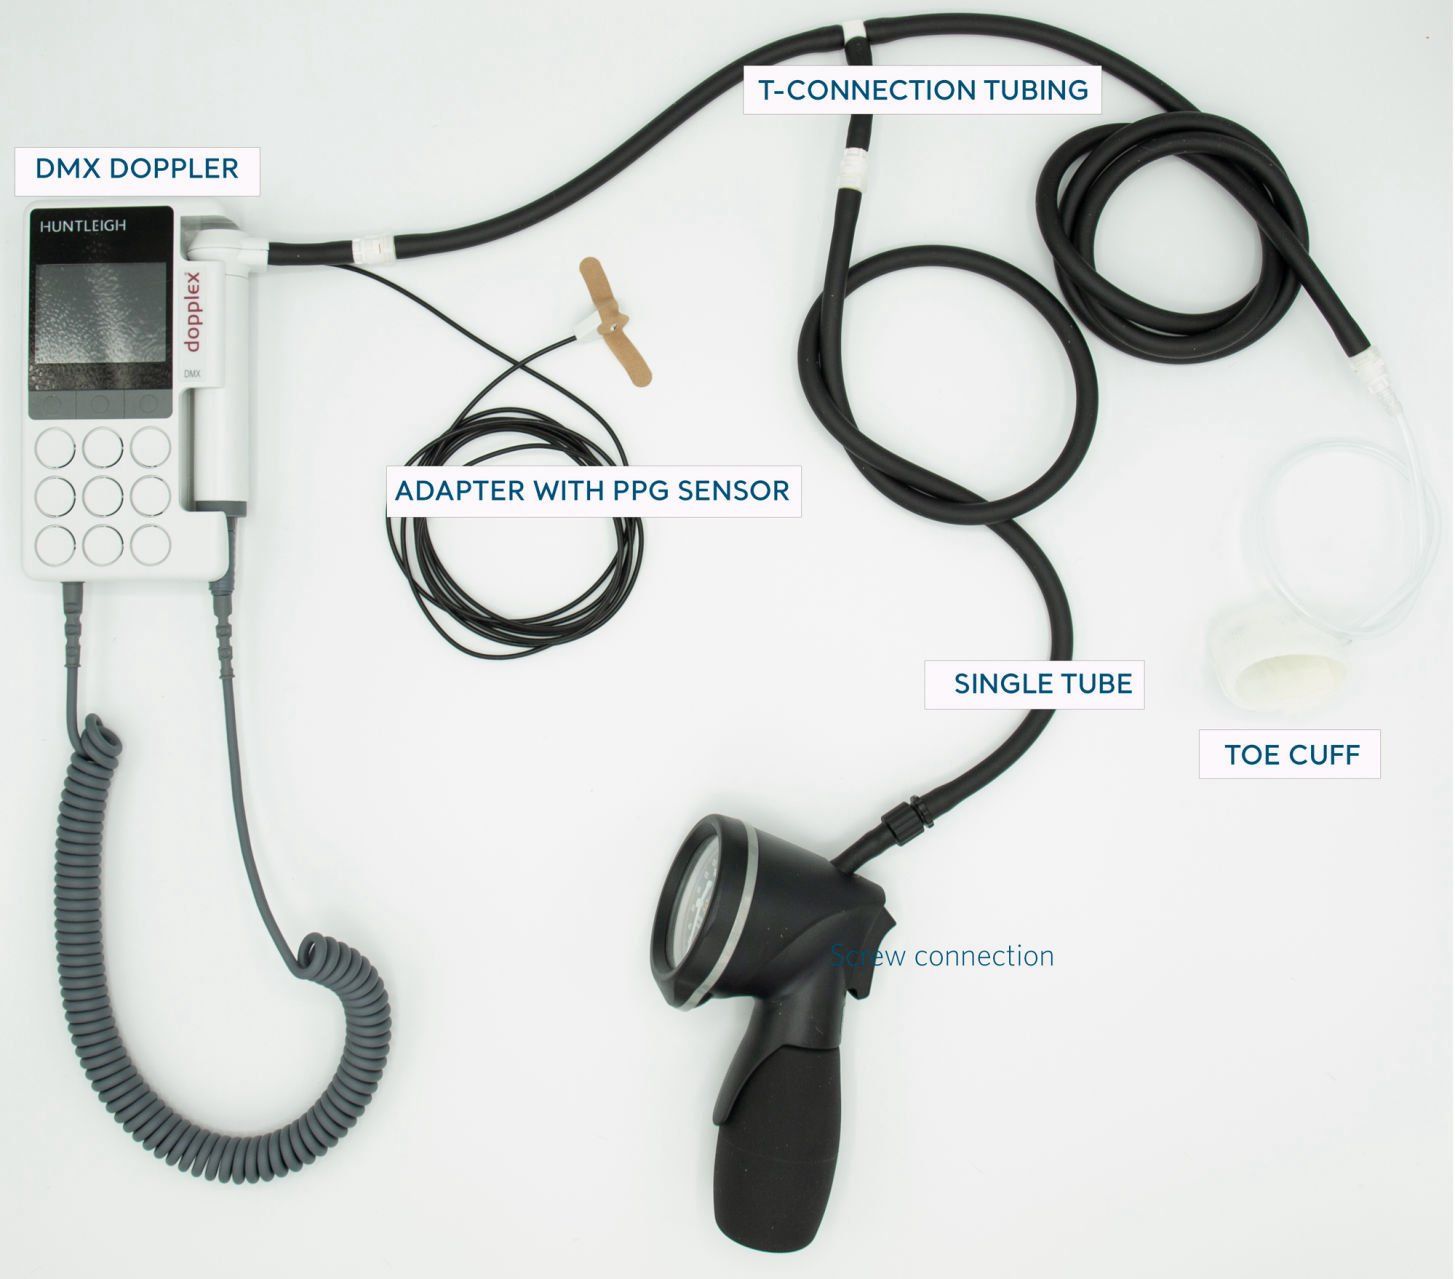
Video - Setting up Tubing
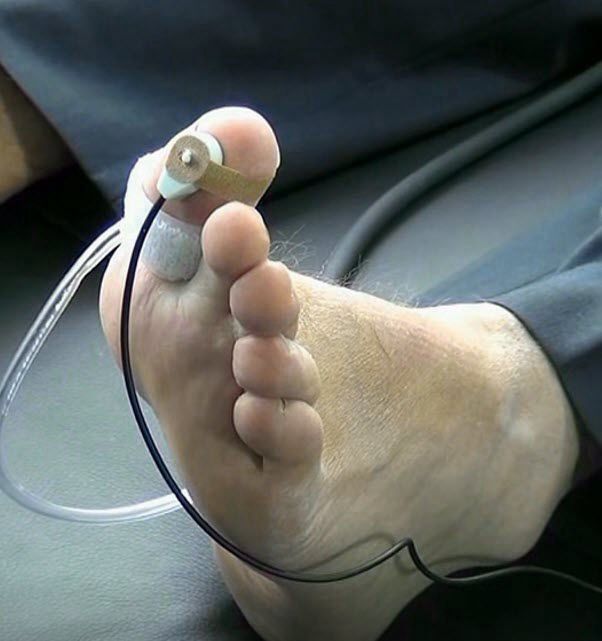
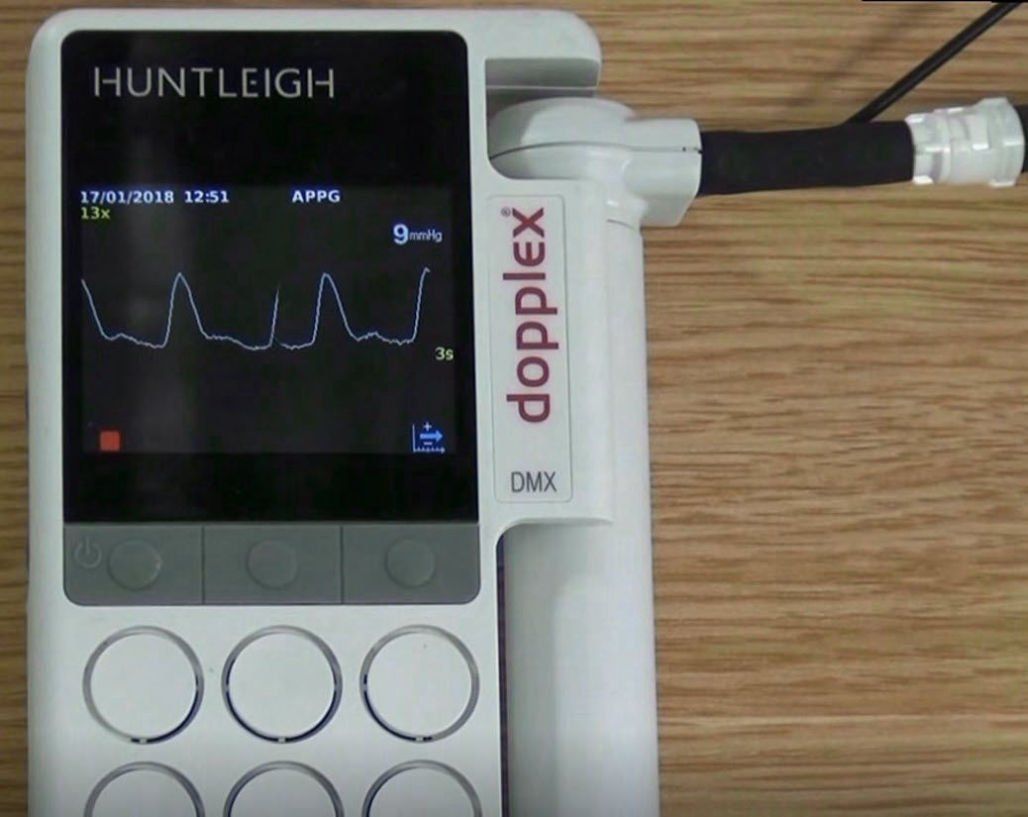
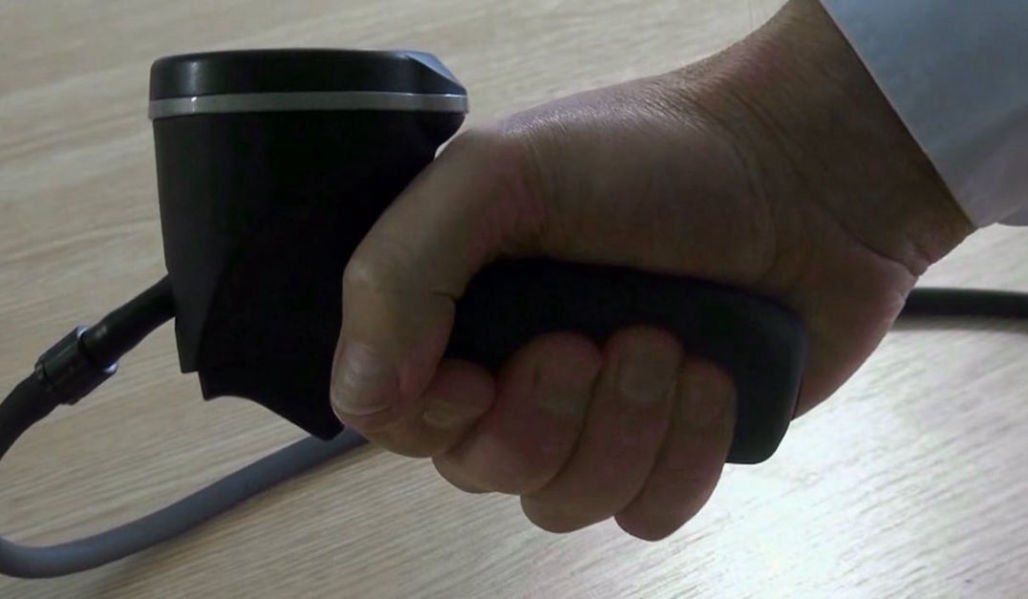
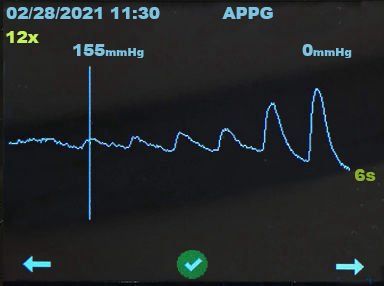
Testing the Patient - Toe Pressure
This video is about 2 minutes long; below are step by step instructions.
Step by Step Instructions
Patient Testing - Toe Pressure


Step by Step Instructions
Patient Testing - Standard ABI - Arms and Ankles
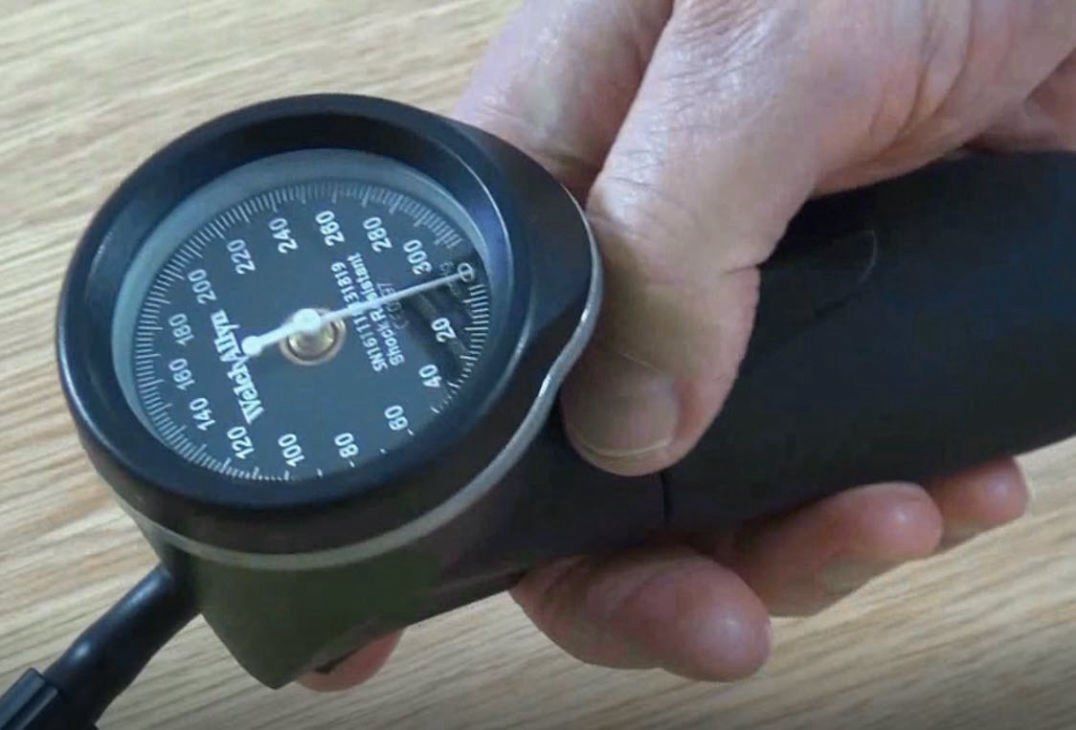
Testing the Brachial Systolic Pressure
The standard ABI traditionally starts with testing the brachial systolic pressures of both arms. The higher of the two brachial systolic pressures is used in the calculation.
Testing the Other Brachial Systolic Pressure
Step by Step Instructions
Testing the Ankle - Dorsalis Pedis
Testing the Ankle - Posterior Tibial Artery
The higher of the two readings between the Dorsalis Pedis and Posterior Tibial Artery is used for the calculation.
ABI Calculation Instructions
As a proud member of the Arjo family, we believe that great healthcare is always a collective effort. The greatest contribution we can provide to patients, and the professionals who care for them, is confidence. This is what we have been striving for since 1979, with innovative solutions in vascular care, fetal and patient monitoring. Solutions that can assist clinicians in improving outcomes and enhancing patient wellbeing. Whether it’s the safe delivery of a new life, improving the day-to-day quality of life or monitoring life’s vital signs, we aim for clinical excellence and improved performance, for life.
This website is intended to provide information to an audience within the USA only.
Copyright © 2023 Arjo. All Rights Reserved.
Version 01/02/2021-USA-1